I did not set out to rank every square inch of my cabin like a phone-mount cartographer. I set out to stop mounting my phone in the wrong place and pretending the problem was the brand.
"Best place to mount cell phone in car" sounds like a yes-or-no question. Real life is a triangle: can you read the map in one glance, can you dock without a second hand, and does the mount stop blocking something your car needs to see or cool.
This is an eleven-day field log where I actually tried twelve common placement ideas on two cars—a low sedan and a taller crossover—and scored them with the same boring notebook I use on shootout weeks. I am not writing a DMV pamphlet. I am writing what happened when hero windshield height fought afternoon sun, when vent placement saved my HVAC guilt, and when the center-console lid became the honest winner for facial unlock and one-hand reach.
If you already know your mount family and only need hardware, read MagSafe vs Clamp vs Suction: Which Car Phone Holder Should You Buy in 2026?. This piece answers where on the car that hardware should live.
If your fight is only dash versus windshield—not every other cabin square inch—read Dash or Windshield Phone Mount: 14 Days I Actually Drove Both to Answer Which Is Better (2026 Field Log).
For placements to skip—mirror hanger, cup-holder nav, hero windshield, lap use—read Where Not to Put Your Phone in the Car: 10 Bad Placements I Actually Tested So You Can Skip Them (2026 Field Log).

Lamicall 20-Magnet MagSafe Vent Mount
Vent placement winner on healthy horizontal slats: compact MagSafe head keeps the windshield sightline clear while the phone sits near natural glance height for portrait navigation.
Check Price on Amazon What "best place" actually means (that listing photos skip)
Listings show a phone floating in sunlight like a lifestyle shoot. Commutes ask quieter questions.
Glance time: can you read the next turn without leaning forward like you are sniffing the map?
Reach: can you dock, undock, or tap an app control without leaving your lane mentally?
Heat and re-seat: does the spot bake the phone or weaken suction after parked-car sun?
Sightline clutter: does the mount block forward view, mirror sightlines, rain sensors, or ADAS camera zones?
One-hand dock success at stoplights, because placement and mount type are married whether you like it or not.
I borrowed scoring language from Summer Sun Glare Readability Test: 12 Mount Positions Compared for Navigation Legibility and Safer Glance Time and One-Hand Docking Speed Test: 15 Mount Types Ranked by First-Try Success in Stop-and-Go Traffic. Same idea here, but organized by real estate in the cabin, not by brand logos.

andobil MagSafe Adhesive Dash Mount
Low flat dash pad after real prep: coin-sized adhesive puck on smooth plastic—facial unlock and fast snap without climbing the glass into afternoon glare.
Check Price on Amazon How I ran eleven days without turning it into cosplay science
Car A: 2016 Civic with horizontal vents that wiggle, a dash pad with smooth and textured zones, and a windshield that loves afternoon glare.
Car B: crossover with stiffer vents, deeper dash, and a windshield zone that rewards a longer arm on highway legs.
I tested each placement for at least one full commute day, then one weekend leg, before moving on. I kept the phone on a MagSafe case for half the week and a thick-case Android day for honesty. I logged correction touches per hour, first-try dock attempts at stoplights, and whether navigation stayed readable without chin-tucking.
Install ritual stayed consistent: prep surface when prep mattered, mount once, aim once, drive fifteen minutes, check once, stop fiddling.
Position 1: high center windshield (the hero photo lie)
This is where every unboxing photo wants you to live. It photographs well. It often fails you by mile forty of a sunny afternoon.
On the crossover I ran a universal one-touch clamp on glass with the arm near the rearview mirror zone. Grip was fine. Readability was not. The phone became a second sun and the map UI turned into a silver coin until I cranked brightness like I was angry at the battery.

iOttie Easy One Touch Signature Mount
Lower windshield and dash pad modes in one kit: universal clamp when you need glass height flexibility without trusting hero mirror-zone placement every sunny week.
Check Price on Amazon High windshield placement can work in overcast weather or with deliberate low tilt and anti-glare discipline. For my eyes, it lost to lower glass and to vent placement on sunny commute weeks.
Read the fourteen-day dash-or-windshield answer first: Dash or Windshield Phone Mount: 14 Days I Actually Drove Both to Answer Which Is Better (2026 Field Log). Longer structured comparison: Windshield Phone Mount vs Dashboard Phone Mount: 30-Day Visibility, Heat, and Stability Test (2026) and the older windshield thirty-day log Windshield Phone Mount 30-Day Real-Life Test: Visibility, Stability, Pros and Cons.
Hardware anchor for flexible glass height: iOttie Easy One Touch Signature Review: 13 Days I Actually Drove (Dash & Windshield Field Test).
Position 2: lower windshield (better glance, still glass prep drama)
Dropping the cup six to ten inches on the glass beat hero height for map legibility on both cars. I still fought glare, but I stopped leaning. Micro-jitter showed up on patched asphalt at slow speeds, which is normal for long arms on vibrating glass.
Glass placement demands prep honesty. A rushed wipe at a gas station is how suction mounts fail in reviews that blame the brand instead of the hand.
Read Mounting Surface Prep Test: 12 Cleaning Methods Compared for Suction Hold, Adhesive Grip, and 14-Day Stability before you trust a windshield cup after kettle-corn fingers.
Position 3: flat dash pad (low profile, heat honest)
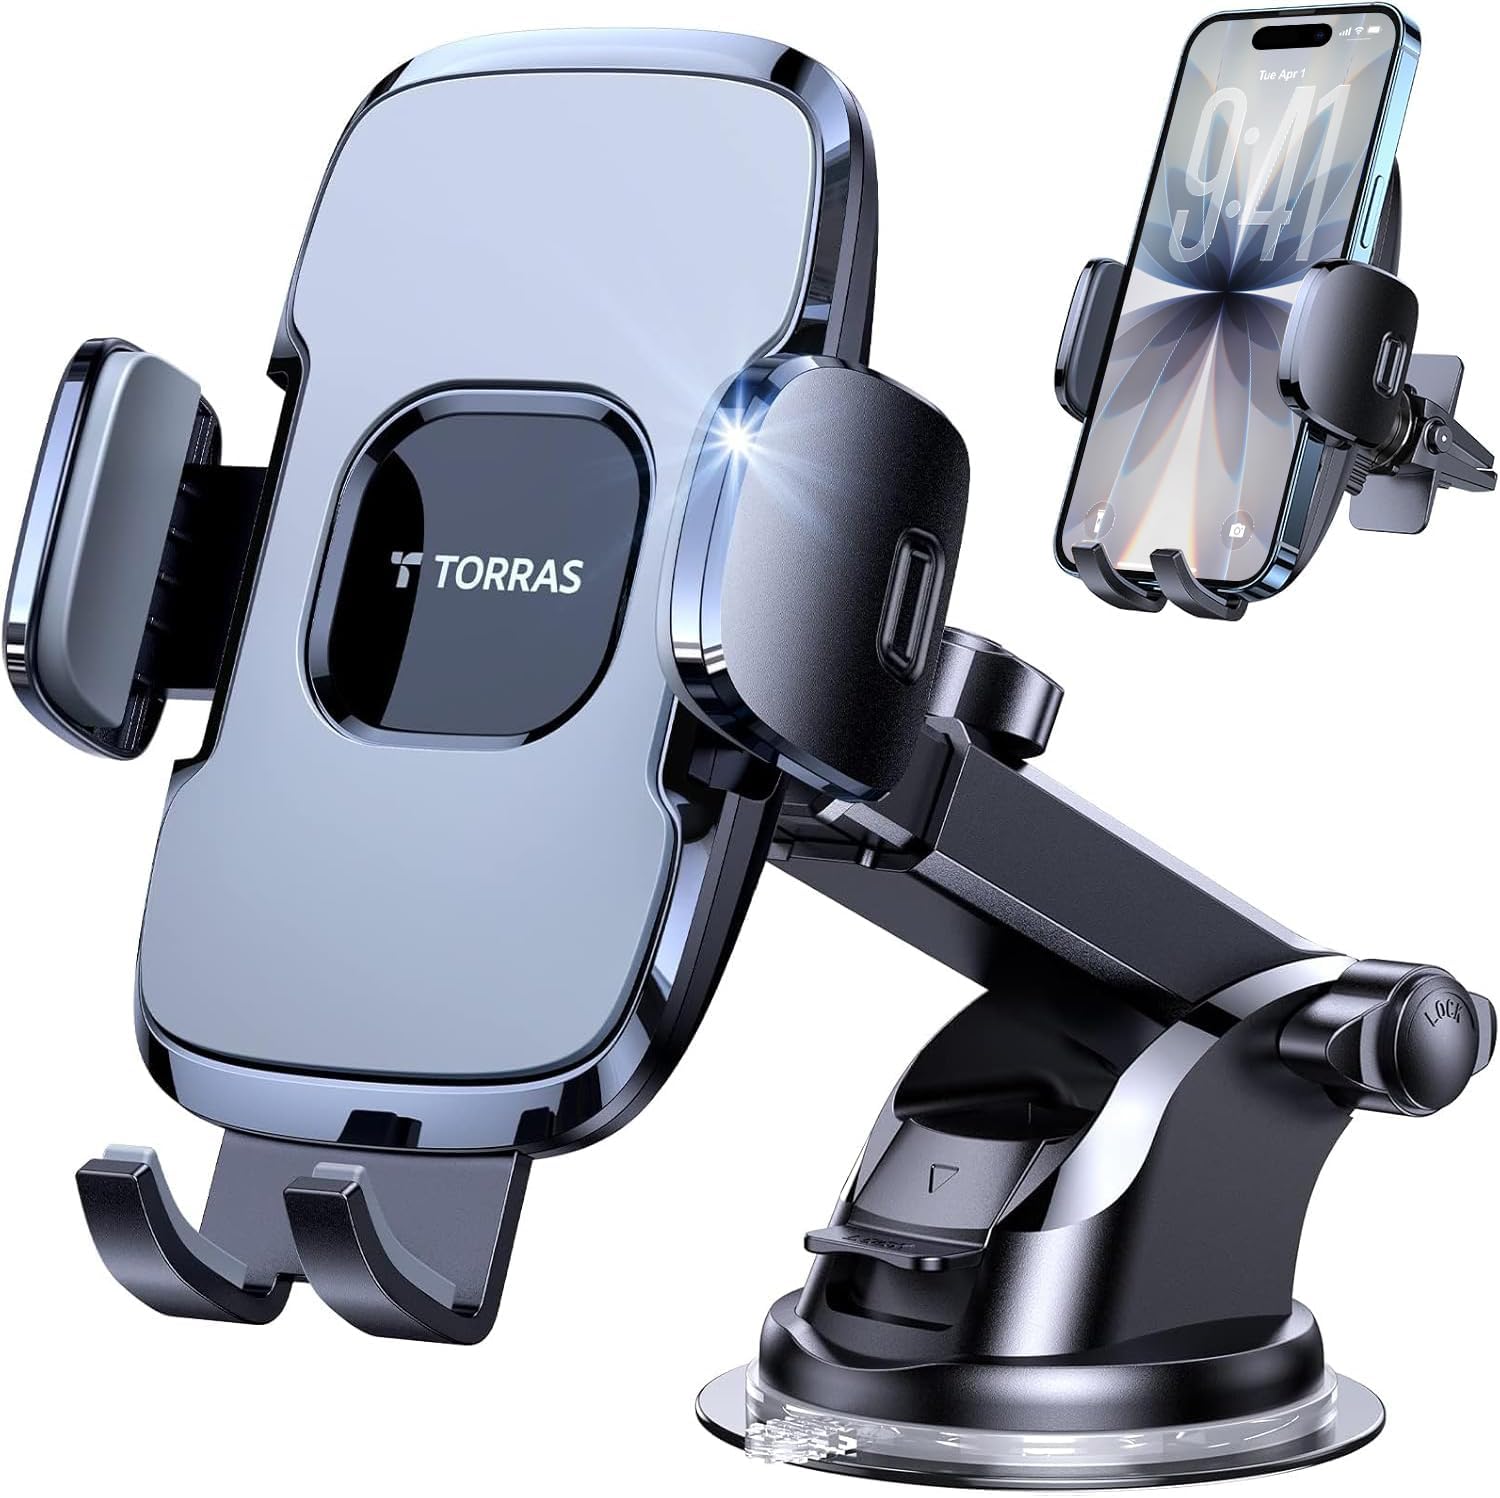
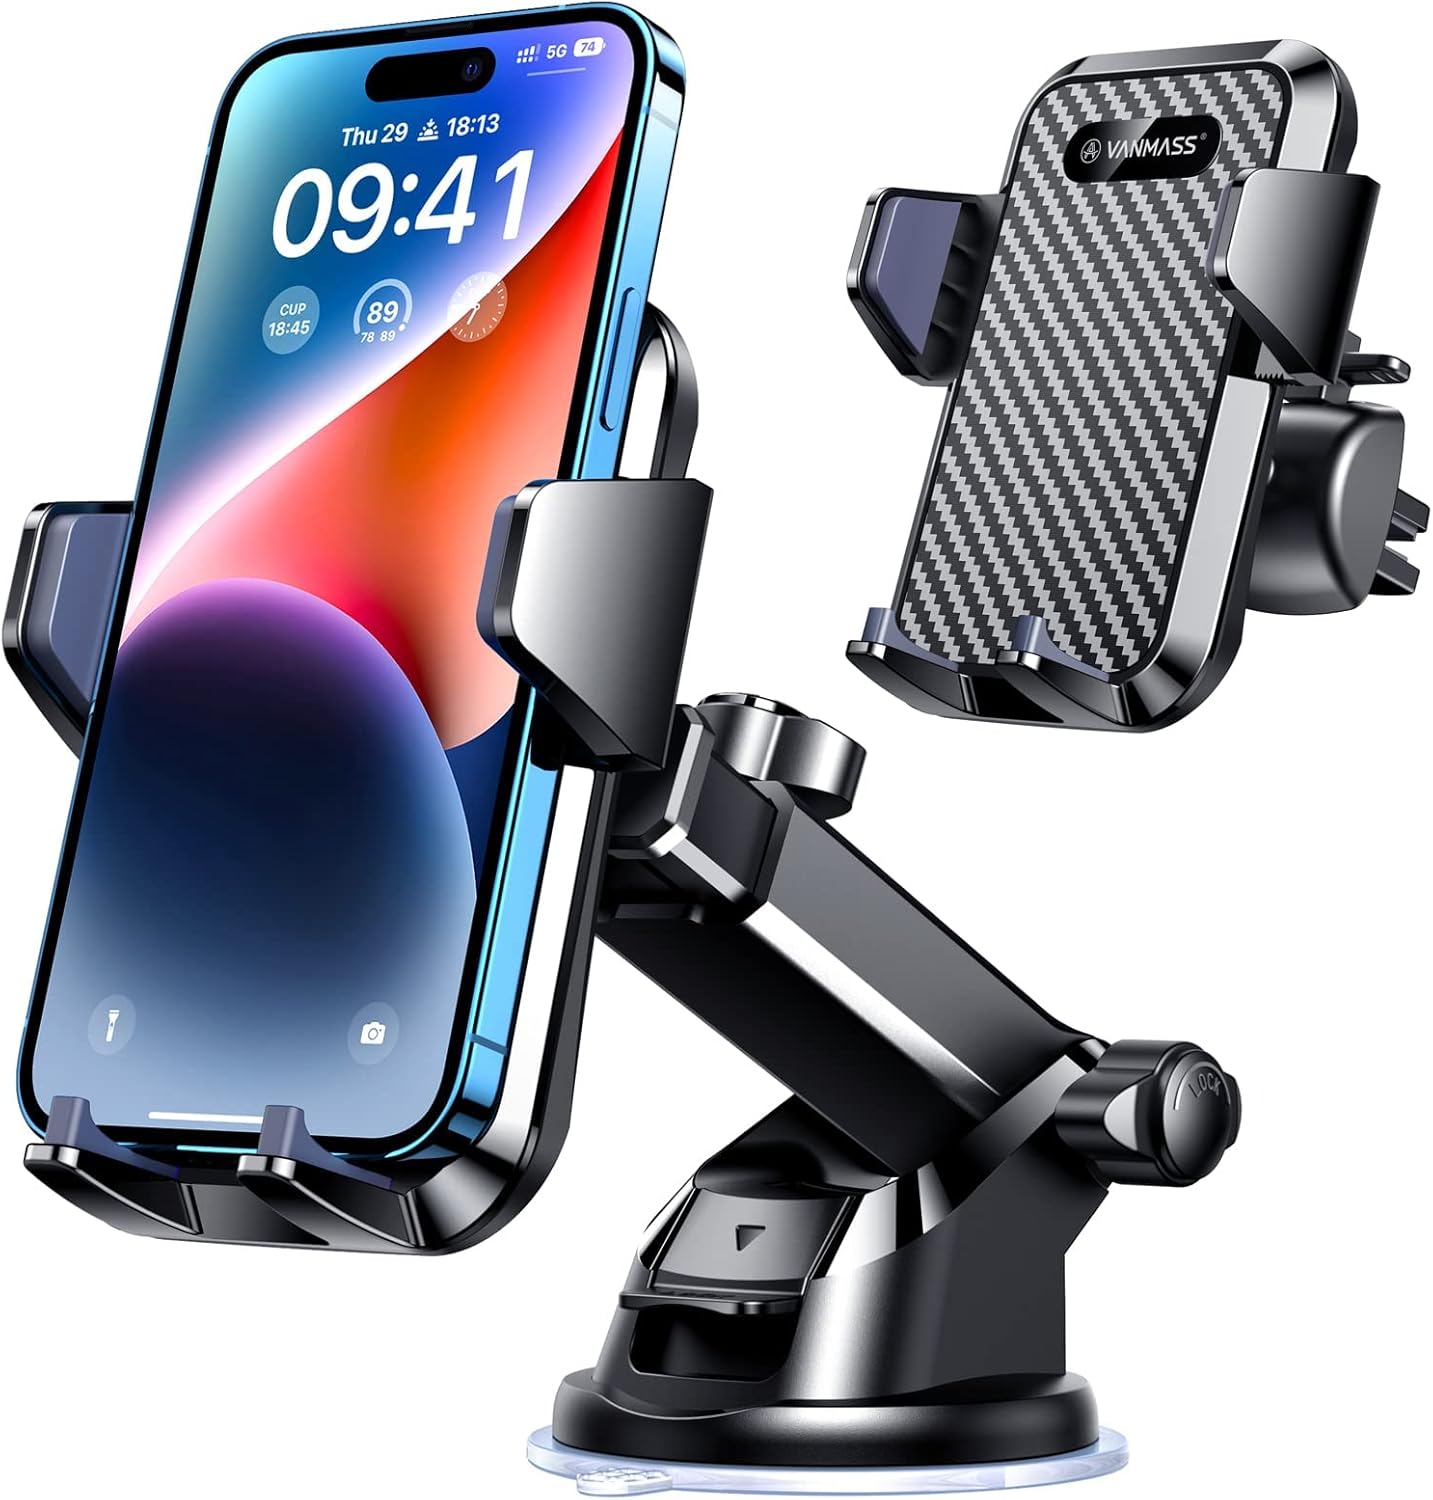
TORRAS 96+LBS 4-in-1 Car Phone Mount
When one cabin forces you to try three real estates: dash suction, lower glass, and vent hook in the same box—placement experiments without buying three separate heroes.
Check Price on Amazon Smooth dash plastic was the quiet winner for daily commuting when I wanted the phone out of the windshield sightline entirely.
I ran a low-profile adhesive MagSafe puck on the Civic pad after an alcohol wipe and a real cure window—not the ten-minute cheat every impatient review pretends is fine. Snap rhythm was fast. Glance angle was natural. Facial unlock worked because the phone sat nearer my face height without climbing the glass.
Heat week still mattered. After bake-and-go parking, I re-checked the bond instead of trusting morning optimism. For heat behavior across families, read Memorial Day Heat-Soak Week: Parked-Car Suction, MagSafe, and Charging Re-seat Honesty in Early Summer.
Low-dash hardware diary: andobil MagSafe Adhesive Mount Review: 12 Days I Actually Drove (3M Dash Puck Field Test).
Position 4: textured dash with adhesive disc (the prep tax)
Textured dash zones are where drivers learn suction is not magic. The winning move was a disc path: clean, stick, wait, then mount on top when the listing includes that workflow.
I also tested a three-axis MagSafe arm on a flat island of pad on the crossover because I wanted tilt memory without hero windshield height. Damping joints helped on brick roads. I touched the joint twice in eleven days, not twenty times a day.
Premium low-dash tilt diary: SYNCWIRE MagSafe Mount Review: 12 Days I Actually Drove (Three-Axis Dash Field Test).
Position 5: center console lid (underrated, surface-dependent)
This is the placement people forget until they drive a car with a usable flat lid.
On the Civic, a vacuum MagSafe puck on the center-console lid became the facial-unlock and one-hand dock sweet spot for short drivers. It is not universal. Many lids are curved, leather, or rubberized in ways that reject suction. When the surface is smooth hard plastic, it was brilliant for stop-and-go. On the highway it was less ideal for glance angle than vent or low dash.
Console placement is a surface test, not a moral verdict.
Vacuum puck diary that also does dash and glass: VICSEED 85+LBS Vacuum MagSafe Mount Review: 12 Days I Actually Drove (Dash & Windshield Field Test).
Position 6: horizontal vent (my daily-driver winner for sedans)
Vent placement keeps the phone near eye line without eating the windshield. It preserves a real airflow path if the head is compact and the clip is metal, not theater.
On the Civic slat I ran a twenty-magnet MagSafe vent head for four days. First-try snap on native MagSafe was twenty-six of thirty attempts across two mornings. The four misses were coffee-hand sloppy, not magnet weakness. Max AC produced a faint buzz at one fan speed—not constant, but real on thin blades.
Vent placement fails when blades are loose, round, vertical-only, or behind the wheel rim. Read Car Vent Types Explained: Which Phone Mount Fits Your Vent (2026 Compatibility Guide) and Vent Mount Angle Optimization Test: 10 Position Setups for Glare, Reach, and One-Hand Safety.
Vent shootout context: MagSafe Vent Shootout Week: 10 Days I Actually Drove (Lamicall vs Kaistyle vs VICSEED on Max AC and Brick Roads).
Single-mount vent diary: Lamicall 20-Magnet MagSafe Vent Mount Review: 12 Days I Actually Drove (STCV03-B Field Test).
Position 7: cup holder (fine for storage, bad for navigation)
I tried the cup-holder lifestyle so you do not have to. Parking the phone in a cup holder is acceptable for audio. For turn-by-turn navigation it is a glance-time tax. You look down and away. Docking is awkward. Spills become a personality event.
I mention it because searchers ask. It lost every navigation day in this test.
Position 8: rearview mirror hanger (hard no for me)
I tested a mirror-hanger style mount for one afternoon and removed it before dusk. It sat in the worst sightline triangle, bounced on rough pavement, and made me nervous about mirror movement and obstruction framing even where it is not explicitly illegal in every jurisdiction.
If a mount fights the mirror, it is not "best place" for me, regardless of affiliate commissions.
Full bad-placement field log: Where Not to Put Your Phone in the Car: 10 Bad Placements I Actually Tested So You Can Skip Them (2026 Field Log).
Position 9: CD slot (niche salvation placement)
Older trucks, some Jeeps, and certain fleet cabins still have a CD slot that is the only honest anchor point.
I ran a CD-plus-vent dual clip for two days in a borrowed older cabin. CD mode felt locked and boring in the good way on highway vibration. It is not for everyone. If you have a flat dash and healthy vents, CD mode is a backup story, not your first choice.
CD and vent diary: VICSEED CD Slot & Vent Mount Review: 11 Days I Actually Drove (Military-Grade Field Test).
Position 10: passenger-side dash (reach test for couples)
I mounted low on the passenger-side dash for a day to simulate passenger-navigator handoffs. It worked for a right-seat passenger. It was wrong for the driver unless you enjoy crossing your body mid-intersection.
Read Passenger-Side Reach Test: 25 Daily Hand-Off Scenarios for Driver-Passenger Sharing, Dock Speed, and Safety.
Position 11: behind steering wheel rim (theory only—do not)
I am including this because forums love it. I did not drive with the phone behind the wheel. I sat in the car and measured reach and sightline conflict. Hard pass. If you cannot see the speedometer or you fish for the wheel rim, the placement is not best—it is a dare.
Position 12: wireless charging pad zone (if your car has one)
Some cabins have a Qi pad in the console. That is a placement, not a mount strategy. I ran two days with phone on the factory pad for charging and a vent mount for navigation. Splitting roles reduced heat on the magnet face and stopped me from expecting one spot to do everything.
Portrait vs landscape at the winning spots
Placement is half the battle. Orientation is the other half.
Portrait on vent and low dash won for turn-by-turn clarity in stop-and-go. Landscape on lower windshield won for highway legs until arm sag made me re-tighten the joint. Read Portrait vs Landscape Navigation Test: 30-Day Turn Clarity, Lane-Change Confidence, and Touch Error Rate.
Night and tint weeks change the winner
A placement that wins at noon can lose at nine p.m. when the glass becomes a mirror.
Lower placement and one notch less up-tilt often beat max brightness. Read Night Driving Glare Test: Screen Brightness vs Mount Height for Safer Glance Time and Window Tint Phone Mount Placement Week: Field Test Glare and Readability (2026).
Tall SUV and truck cabins move the target
If you sit higher, the same mount height reads differently. Reach arcs change. Windshield hero height gets worse, not better.
Read Tall SUV and Pickup Seat-Height Test: Mount Position, Reach Arc, and Glance-Time Safety vs Sedans and Best Car Phone Holder for Truck Drivers: A Complete Guide.
Twelve-day pickup and truck mount field log with VANMASS, TORRAS, and CD-slot rotation: Pickup & Truck Phone Mount Week: 12 Days I Actually Drove in a Tall Cab (Dash, Glass, Vent & Rough-Road Field Test).
CarPlay does not erase placement decisions
Wireless CarPlay can carry navigation audio and maps on the dash screen, but the phone still becomes the truth device for messages, alternate pins, and app weirdness.
Read Wireless CarPlay and Phone-Primary Navigation: Mount Height, Reach, and Split-Attention Field Notes and CarPlay and Android Auto Cable Interference Test: Mount Position, Climate Controls, and One-Hand Docking.
ADAS and sensor zones: do not mount on the glass forehead
Before you park a suction cup near the top center of the windshield, check what your car hides under the glass.
Read ADAS Camera Sensor Safe Zone Test: Phone Mount Placement vs Lane Assist, Rain Sensor, and Visibility.
Quick picks: best place by real driver scenario
Best overall for sedan commuters with healthy vents: left or right vent slat, slightly below eye line, portrait navigation, MagSafe or a strong vent clamp.
Best for glare-heavy sunny weeks: low dash pad with adhesive puck or low glass—not hero windshield.
Best for thick cases and family phone swaps: vent clamp with wide jaws or universal dash/windshield clamp, not magnetic optimism alone.
Best for trucks and tall cabins: lower glass with a real arm, or dash pad with telescopic reach—read truck guide above.
Best for cabins with no flat dash: CD slot or vent; do not fight textured leather with naked suction.
Best budget "I need one mount for three surfaces" lane: serious 3-in-1 kit tested on each surface honestly, not just the hero photo surface.
3-in-1 surface rotation diary: 3-in-1 Car Mount Shootout Week: 12 Days I Actually Drove (andobil vs TORRAS vs VANMASS on Dash, Glass & Vent).
What failed in ways that embarrassed me
Mounting high on glass because the box photo looked premium, then fighting glare all week.
Using vent clips on loose slats without a mid-week tightening check, then blaming magnets online.
Putting a thick-case phone on a vent MagSafe puck without a clamp backup plan.
Ignoring textured dash rules and reviewing suction as "weak" when prep was the villain.
Assuming cup holder placement is fine for navigation because it is fine for podcasts.
What worked like a boring professional
Pick a primary placement for your car geometry, then keep one backup mode in the trunk.
Aim once after a fifteen-minute drive check, then stop micro-tilting every red light.
Match mount family to surface: vent clip for vents, suction for honest glass, adhesive for honest flat dash.
Track first-try dock success for three mornings before you crown a winner.
Read hub picks: Best Car Phone Holder 2026: 10 Mounts I Actually Tested That Work (Not Hype Specs) and The Best Car Phone Mounts for 2026.
What buyers are searching (and what matched my eleven days)
Common searches look like "best place to mount cell phone in car," "where to put phone holder in car," "is it better to mount phone on windshield or dashboard," "vent vs dashboard phone mount," and "lowest glare phone mount position." My week matched the practical answers: lower beats higher on glass for many drivers, vent beats hero windshield for sunny sedans with healthy slats, and placement prep matters more than mount poetry.
Final takeaway
The best place to mount your phone in the car is not one coordinate. It is the spot that keeps glance time short, reach honest, and your windshield useful.
If you only remember one sentence: mount low enough to read the map without leaning, mount stable enough to stop touching it, and mount away from sensors and mirror sightlines—even if the influencer photo mounted higher.
The honest close
I entered this week trying to find the single perfect spot. I left with a calmer rule: choose placement for your eyes and your cabin, then buy hardware that actually fits that real estate.
New-phone stack week if you just changed phones: iPhone 17 New Phone Week: 14 Days I Actually Drove (Case Stack, MagSafe & Clamp Mount Field Test).
July 4th stop-and-go placement stress: July 4th Weekend Field Test: Fireworks Traffic, Parade Detours, and Whether My Mount Survived the Holiday Stop-and-Go (10 Days I Actually Drove).
Rain and low-contrast weeks: Rain, Fog, and Wet Windshield Readability Test: Mount Height, Glance Time, and Low-Contrast Weather.
![[2026 Military-Grade] Car Phone Holder VANMASS [Strongest Suction & Clip] - p...](https://m.media-amazon.com/images/I/512X87YSVuL._AC_SL1500_.jpg)


![ANDERY Car Phone Holder for Magsafe [78+LBS Strongest Suction] - article prod...](https://m.media-amazon.com/images/I/41vEvhI9M7L._AC_SL1500_.jpg)


![iPhone MagSafe Car Mount Charger [15W Fast Wireless Charging] - article produ...](https://m.media-amazon.com/images/I/71bbbhljEeL._AC_SL1500_.jpg)

![Kaistyle for MagSafe Car Mount [20 Strong Magnets] - article product photo](https://m.media-amazon.com/images/I/81Q62aaTOpL._AC_SL1500_.jpg)